That’s My Spot!
Team Contract
Table of contents
- Overview
- Deployment
- Community Feedback
- User Guide
- Developers Guide
- Development History
- Continuous Integration
- Meet the Team
Overview
That’s My Spot! is an application that generates a parking stall number for students and staff in the UH Manoa zone 20 parking structure.
Deployment
The application was deployed via a Digital Ocean virtual machine. The running site can be accessed here.
Community Feedback
We selected semi-random individuals to review our application’s use and layout.
“Wow! This application actually seems really useful. I wish this was actually real” ~ Mitchell Trinh
“It’s definitely not the greatest looking website, but it looks cool.” ~ Earldrych Facun
“I guess Rome wasn’t built in one semester…” ~ Shiori Nakagawa
“Man, the work put into this website must’ve been crazy! It looks really good bro” ~ Joshua Ymas
User Guide
This section provides a walkthrough of the That’s My Spot! user interface and its capabilities.
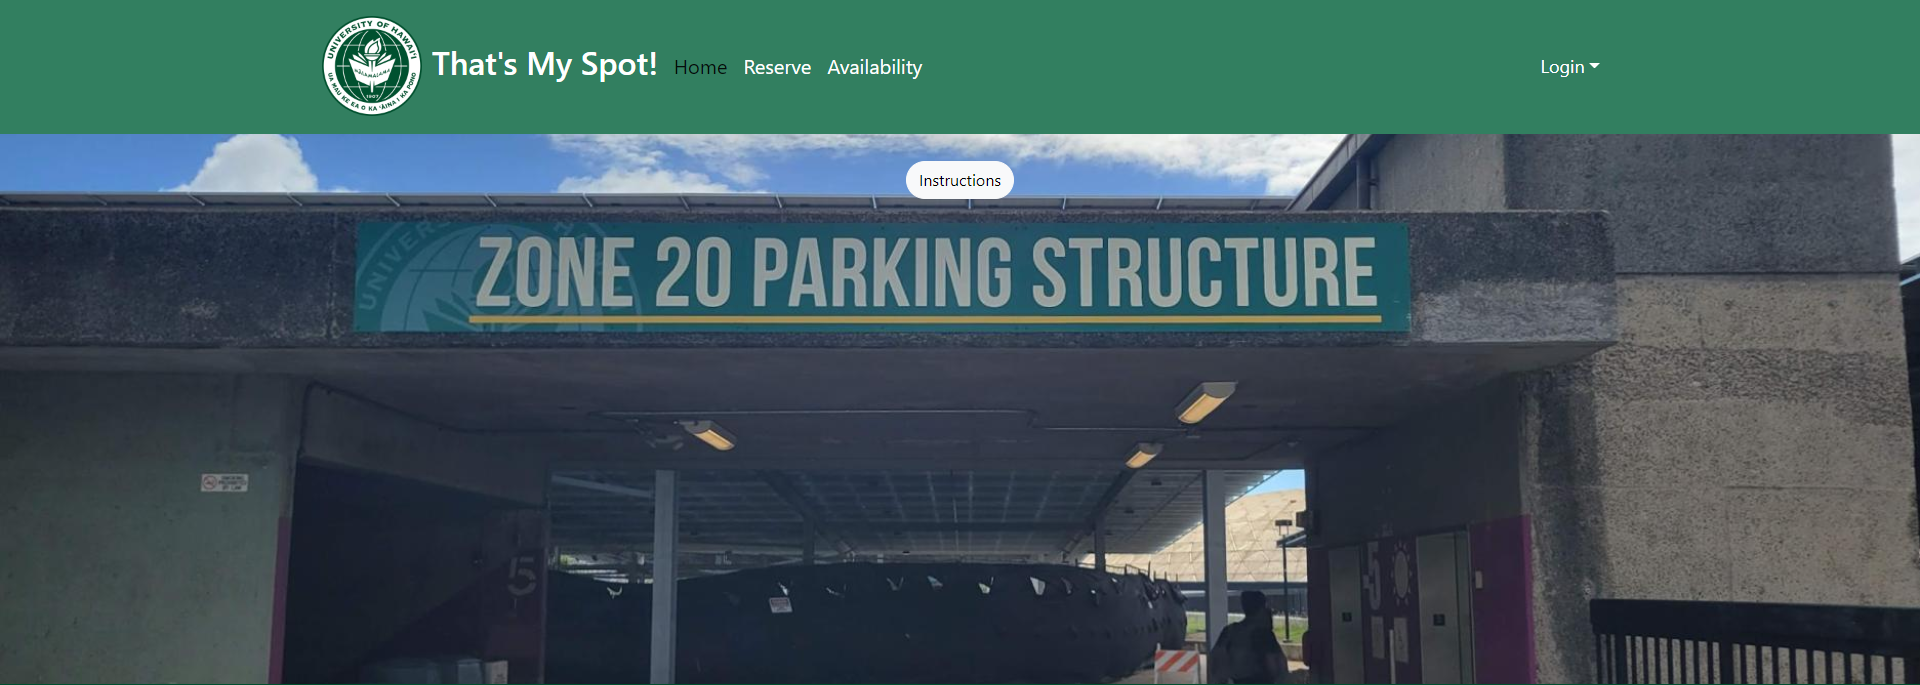
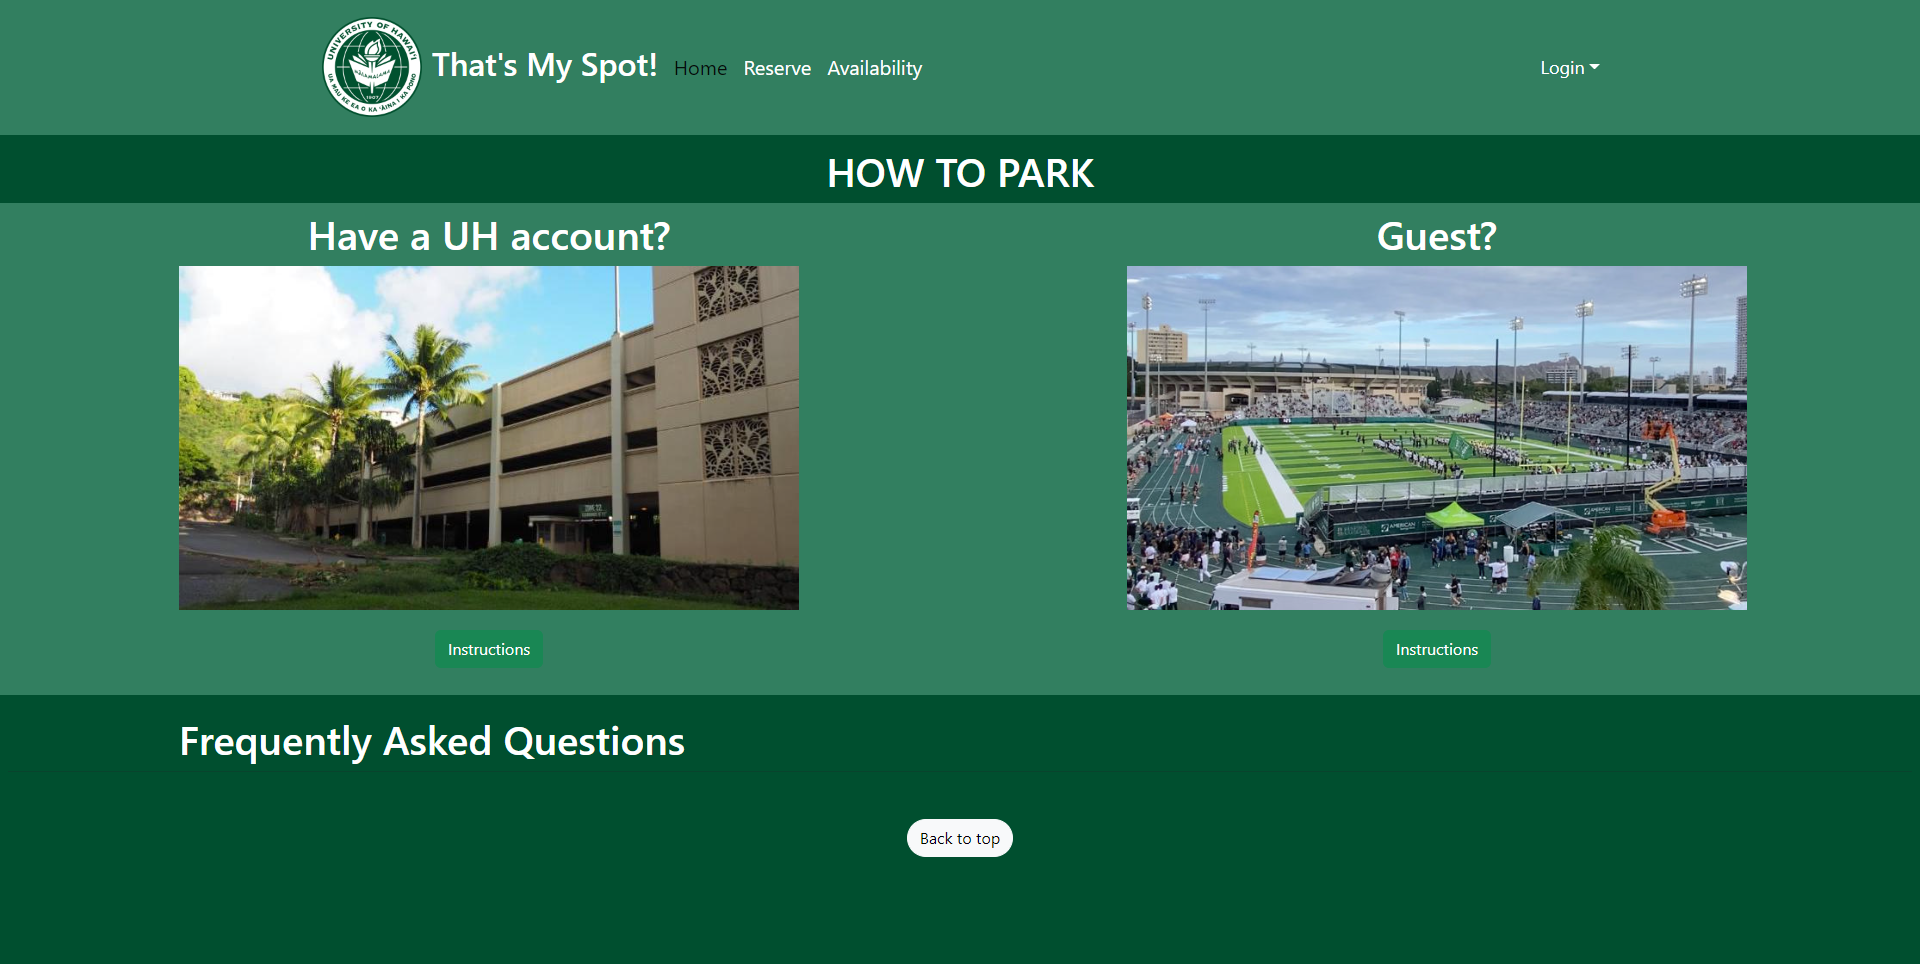
Landing Page
The landing page is the first page users see upon visiting the site. The page provides users with instructions on how to use the website.
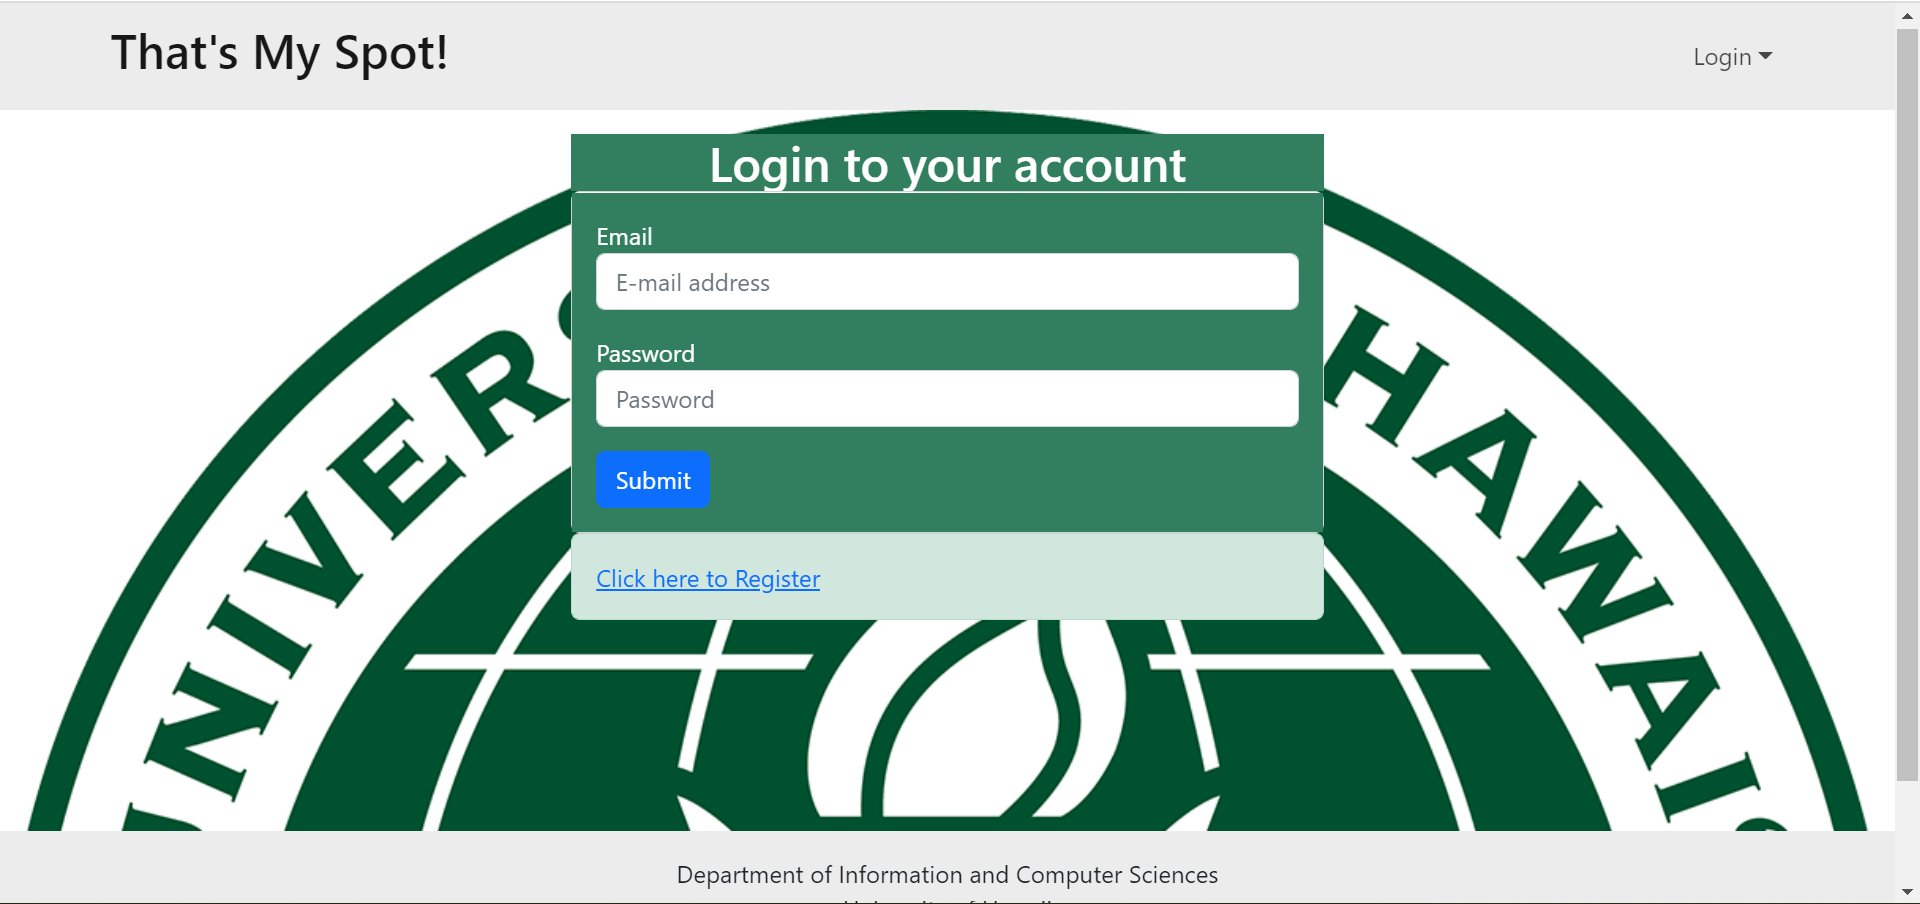
Sign in
Click on the “Login” link, then click on the Sign In link to bring up the Sign In page, allowing you to log in with your UH email:
If you do not yet have an account on the system, you can register by clicking on “Login”, then “Sign Up”:
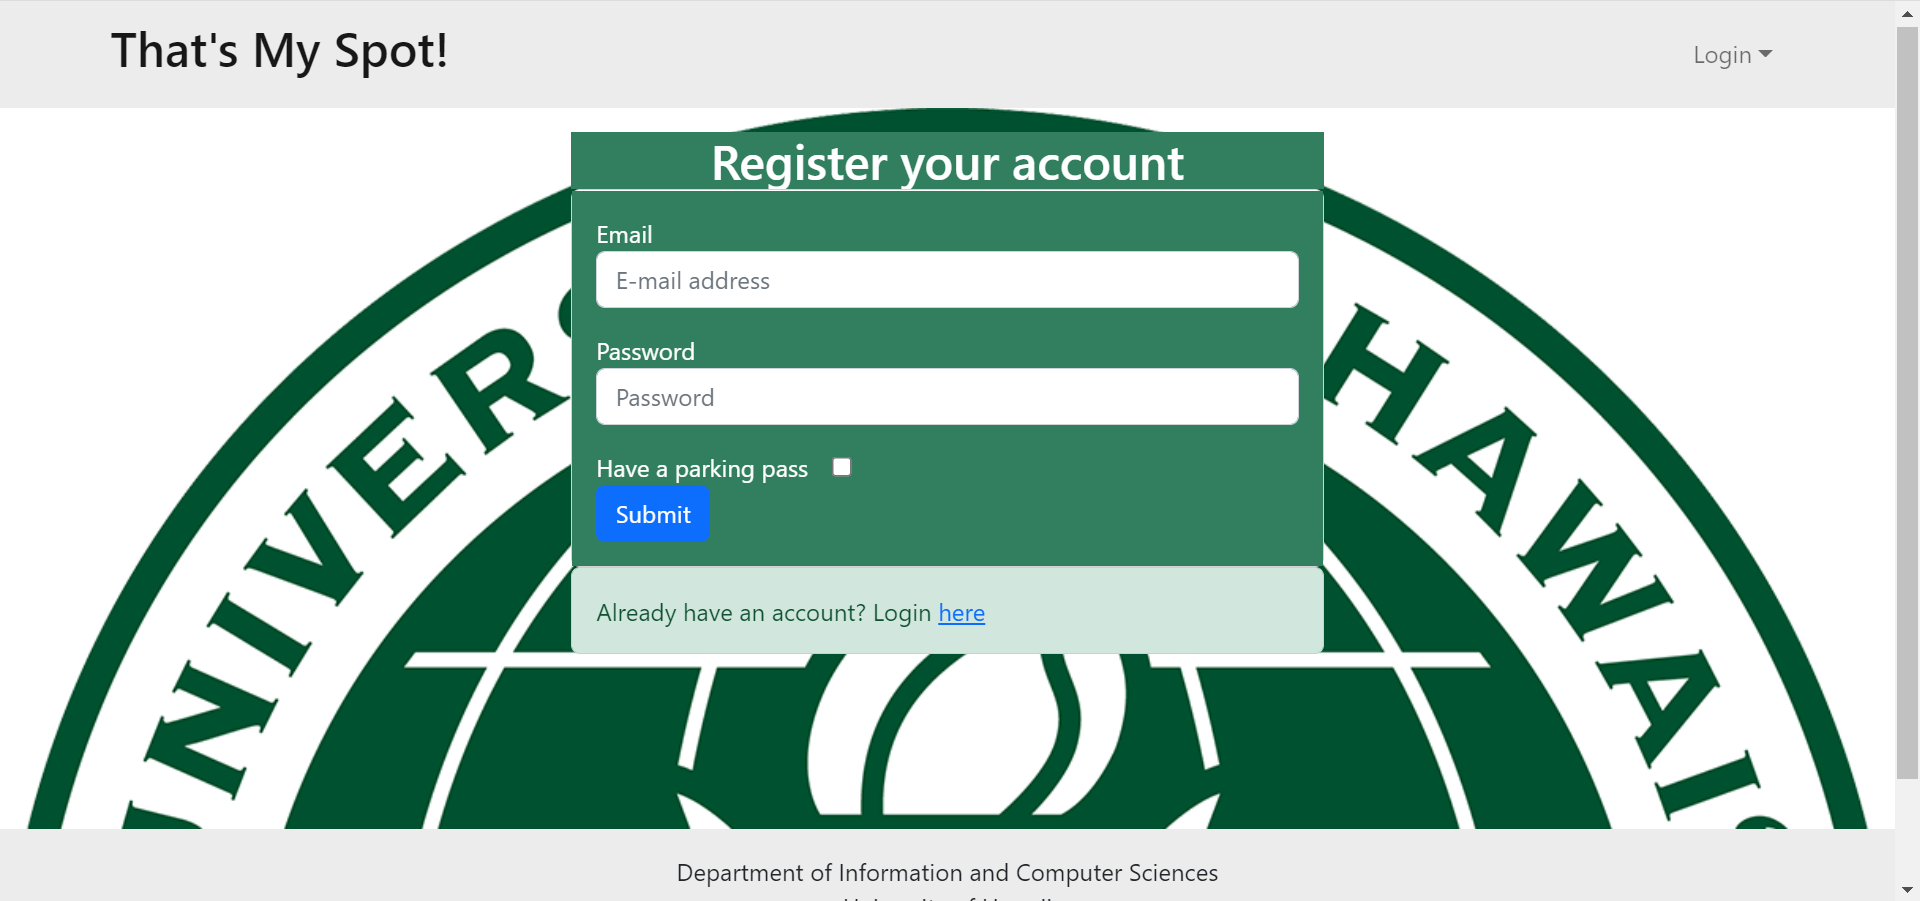
New users can register accounts be adding their UH email, creating a password, and checking whether they have a parking pass.
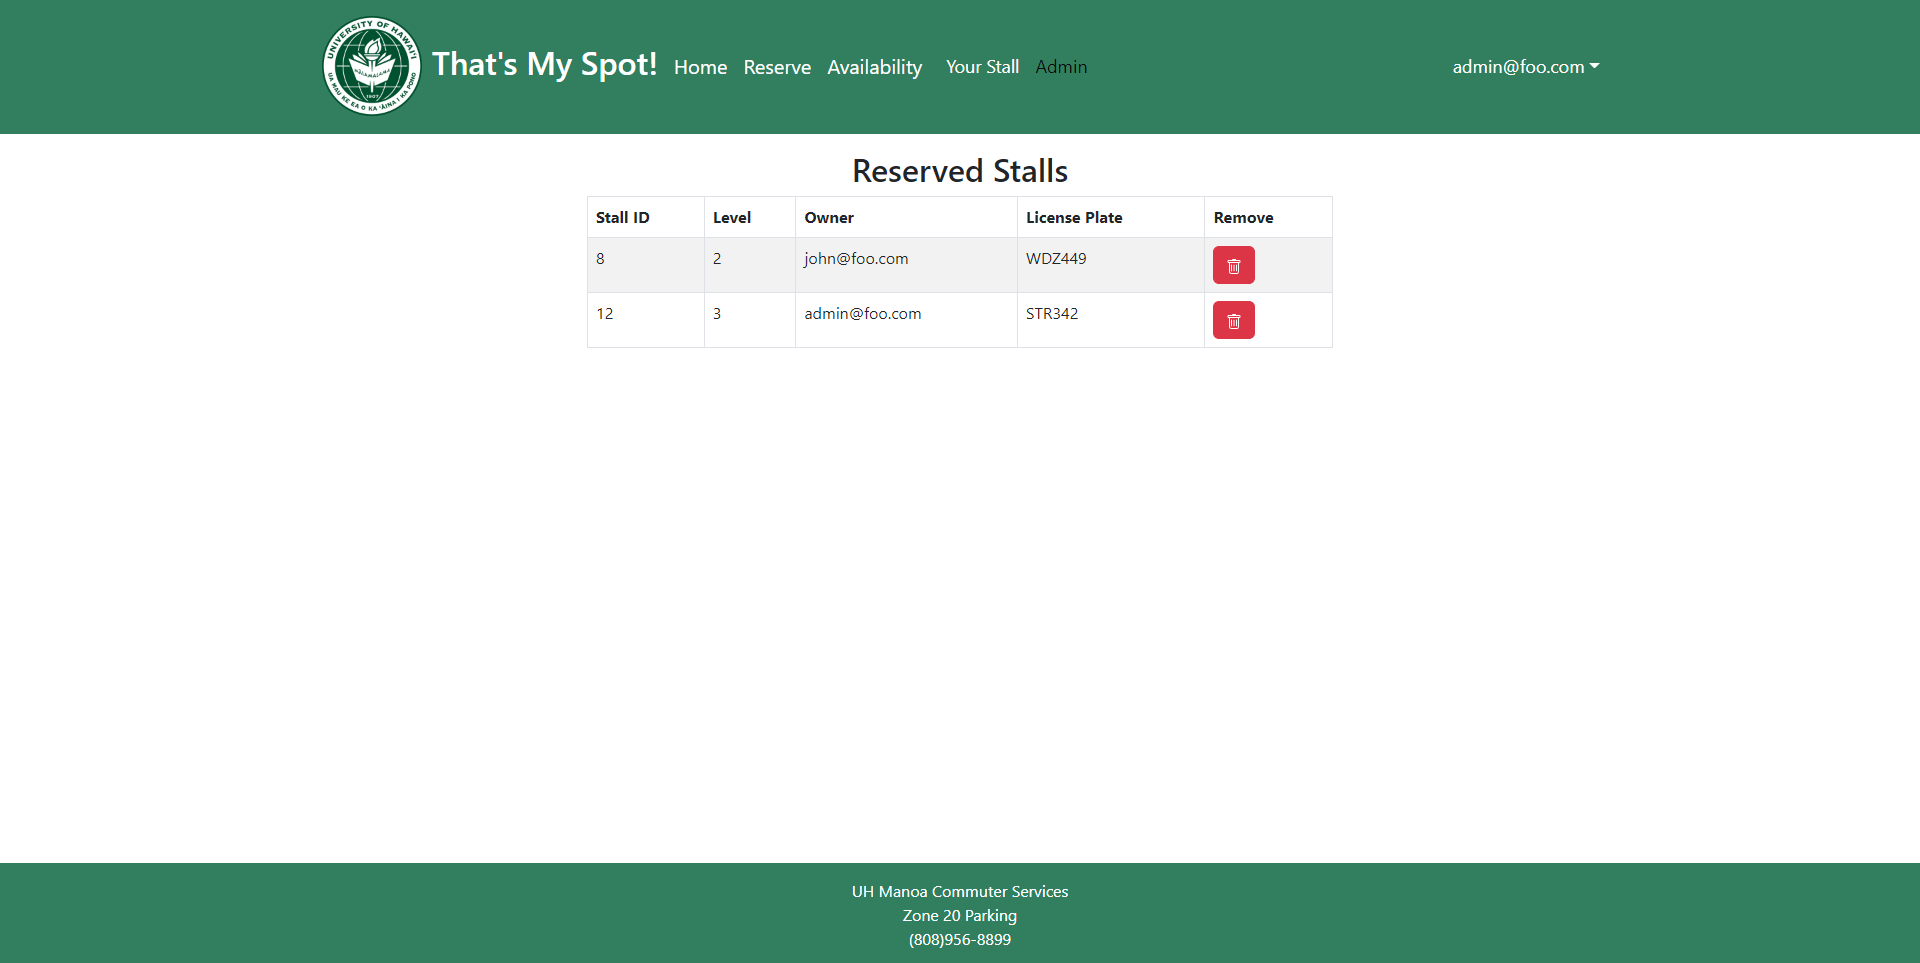
Admin
The admin page is only presented to those with admin access. The page displays taken parking spaces and the owner of the space, allowing admins to delete any reserved spots (e.g., in the event of one user owning multiple spots).
Availability
To reserve a spot, select one of the available spots.

Guest
Guests and users without a parking pass select a stall and proceed to the payment page to purchase their stall.

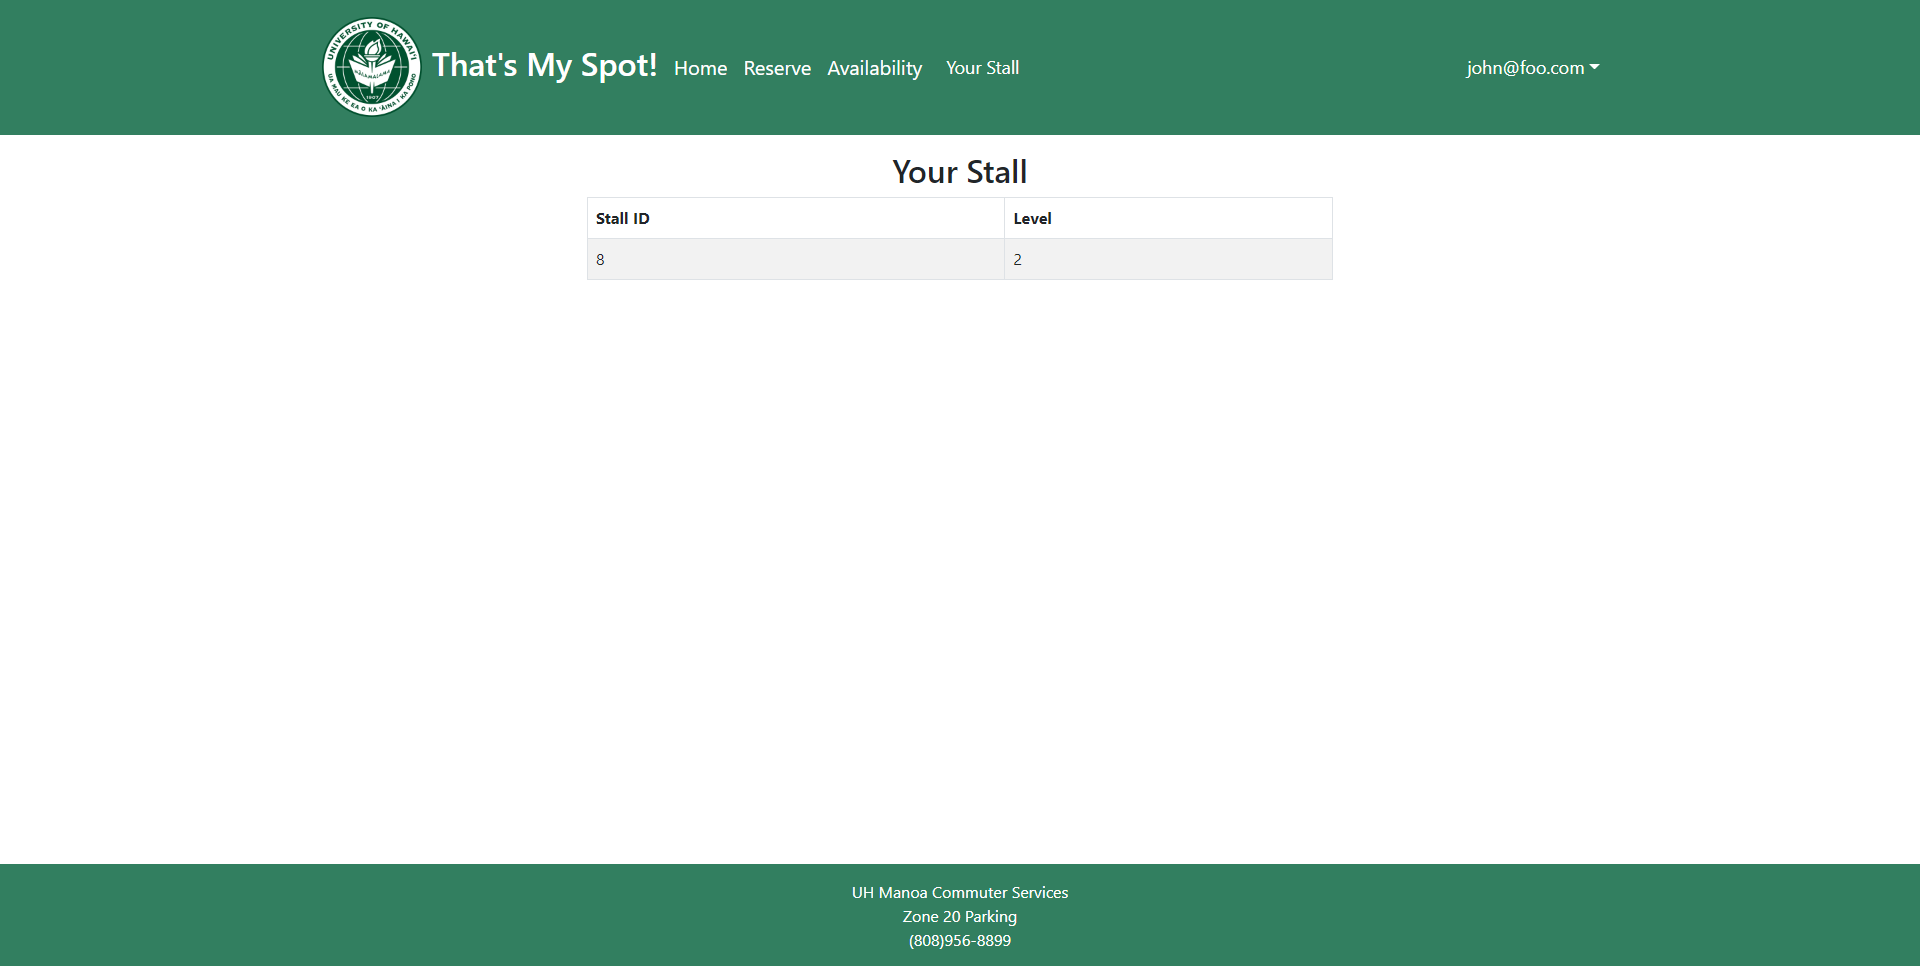
Your stall
After purchasing a stall, users are able to view the stall they purchased.
Developers Guide
This section provides information of interest to Meteor developers wishing to use this code base as a basis for their own development tasks.
Installation
First, install Meteor.
Second, visit the That’s My Spot application github page, and click the “Use this template” button to create your own repository initialized with a copy of this application. Alternatively, you can download the sources as a zip file or make a fork of the repo. However you do it, download a copy of the repo to your local computer.
Third, cd into the thatsmyspot/app directory and install libraries with:
$ meteor npm install
Fourth, run the system with:
$ meteor npm run start
If all goes well, the application will appear at http://localhost:3000.
Application Design
That’s My Spot is based upon meteor-application-template-react and meteor-example-form-react. Please use the videos and documentation at those sites to better acquaint yourself with the basic application design and form processing in That’s My Spot.
Initialization
The config directory is intended to hold settings files. The repository contains one file: config/settings.development.json.
This file contains default definitions for Profiles and License Plates.
The settings.development.json file contains a field called “loadAssetsFile”. It is set to false, but if you change it to true, then the data in the file app/private/data.json will also be loaded. The code to do this illustrates how to initialize a system when the initial data exceeds the size limitations for the settings file.
Quality Assurance
ESLint
That’s My Spot includes a .eslintrc file to define the coding style adhered to in this application. You can invoke ESLint from the command line as follows:
meteor npm run lint
Here is sample output indicating that no ESLint errors were detected:
PS C:\Users\eduar\OneDrive\Documents\github\src\app> meteor npm run lint

> meteor-application-template-react@ lint C:\Users\eduar\OneDrive\Documents\github\src\app
> eslint --quiet --ext .jsx --ext .js ./imports && eslint --quiet --ext .js ./tests

PS C:\Users\eduar\OneDrive\Documents\github\src\app>
ESLint should run without generating any errors.
It’s significantly easier to do development with ESLint integrated directly into your IDE (such as IntelliJ).
End to End Testing
That’s My Spot uses TestCafe to provide automated end-to-end testing.
The That’s My Spot end-to-end test code employs the page object model design pattern. In the That’s My Spot tests/ directory, the file tests.testcafe.js contains the TestCafe test definitions. The remaining files in the directory contain “page object models” for the various pages in the system (i.e. Home, Landing, Admin, etc.) as well as one component (navbar). This organization makes the test code shorter, easier to understand, and easier to debug.
To run the end-to-end tests in development mode, you must first start up a That’s My Spot instance by invoking meteor npm run start in one console window.
Then, in another console window, start up the end-to-end tests with:
meteor npm run testcafe
You will see browser windows appear and disappear as the tests run. If the tests finish successfully, you should see the following in your second console window:
> meteor-application-template-react@ testcafe C:\Users\eduar\OneDrive\Documents\github\src\app
> testcafe chrome tests/*.testcafe.js

 Running tests in:
 - Chrome 108.0.0.0 / Windows 10

 meteor-react-bootstrap-template localhost test with default db
 √ Test that landing page shows up and all pages work


 1 passed (30s)
PS C:\Users\eduar\OneDrive\Documents\github\src\app>
You can also run the testcafe tests in “continuous integration mode”. This mode is appropriate when you want to run the tests using a continuous integration service like Jenkins, Semaphore, CircleCI, etc. In this case, it is problematic to already have the server running in a separate console, and you cannot have the browser window appear and disappear.
To run the testcafe tests in continuous integration mode, first ensure that That’s My Spot is not running in any console.
Then, invoke meteor npm run testcafe-ci. You will not see any windows appear. When the tests finish, the console should look like this:
PS C:\Users\eduar\OneDrive\Documents\github\src\app> meteor npm run testcafe-ci

> meteor-application-template-react@ testcafe-ci C:\Users\eduar\OneDrive\Documents\github\src\app
> testcafe chrome:headless tests/*.testcafe.js -q --app "meteor npm run start"

 Running tests in:
 - Chrome 108.0.5359.99 / Windows 10

 meteor-react-bootstrap-template localhost test with default db
 √ Test that landing page shows up and all pages work


 1 passed (44s)
PS C:\Users\eduar\OneDrive\Documents\github\src\app>
From mockup to production
That’s My Spot is meant to illustrate the use of Meteor for developing an initial proof-of-concept prototype. For a production application, several additional security-related changes must be implemented:
- Use of email-based password specification for users, and/or use of an alternative authentication mechanism.
- Use of https so that passwords are sent in encrypted format.
- Removal of the insecure package, and the addition of Meteor Methods to replace client-side DB updates.
Development History
Throughout development, the project met various milestones to ensure sufficient progress of the application was being made.
Milestone 1
The goals of milestone 1 were to create mockup sketches of the site’s pages and create some of the actual pages based on the sketches, as well as develop some of the backend by including the parking pass field to the account collection and adding the stalls collection.
Milestone 2
The goals of milestone 2 were to continue development of the backend processes and the actual site pages based on the sketches, add a domain name for the website, and employ HTTPS.
Milestone 3
The goals of milestone 3 is to add the finishing touches on pages and to try and implement user feedback from a population of the potential users, and to clean up leftover things from the template.
Continuous Integration
![]()
That’s My Spot uses GitHub Actions to automatically run ESLint and TestCafe each time a commit is made to the default branch.
The workflow definition file is quite simple and is located at .github/workflows/ci.yml.